As alternative to the integrated contact form builder, forms can be created with Contact Form 7 plugin. It comes bundled with the theme and is fully supported by it.
With help of Contact Form 7 you can create any form you need. You can do the following:
NOTE: For creating a form minimal HTML knowledge is required.
Before creating a form make sure that Contact Form 7 plugin was installed and activated according to 'Theme installation' tutorial.
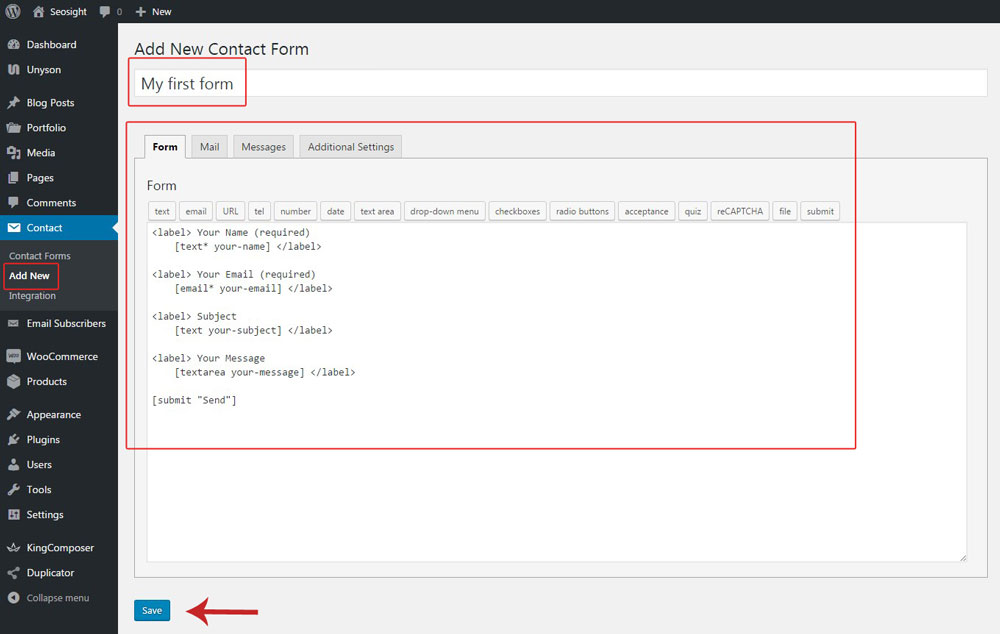
Begin creating a form:
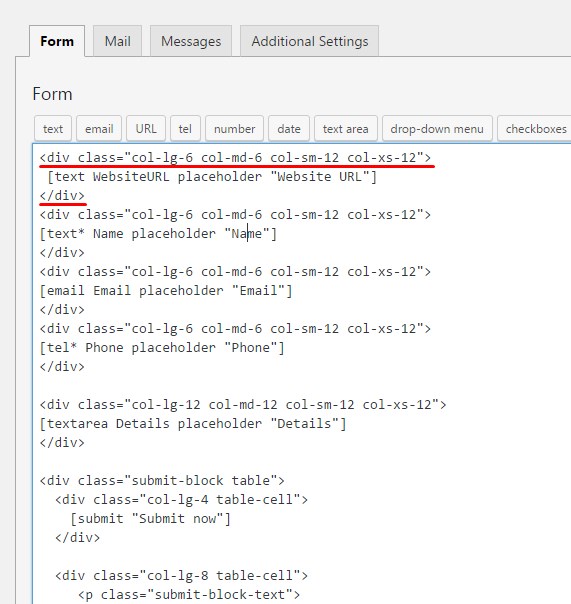
If you think that default form layout is too simple, you can create custom layout with different columns, like in Seosight demo or other.
In order to create a form with several columns, you need to wrap your field shortcode into HTML <div></div> tags with bootstrap grid classes inside them.
NOTE: More information on bootstrap grid you will find in this tutorial.
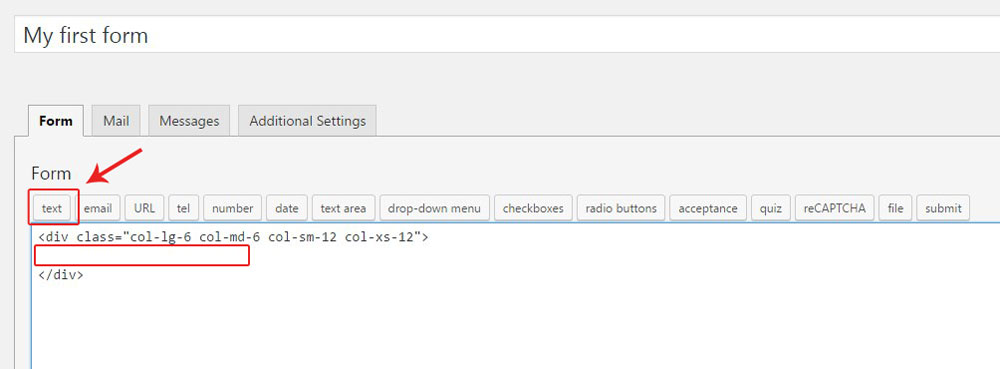
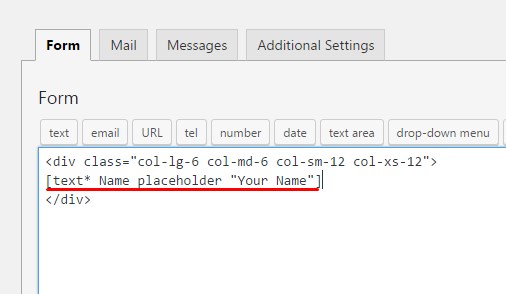
First of all add <div></div> tags with bootstrap classes, put cursor between them and add required field from the top panel.
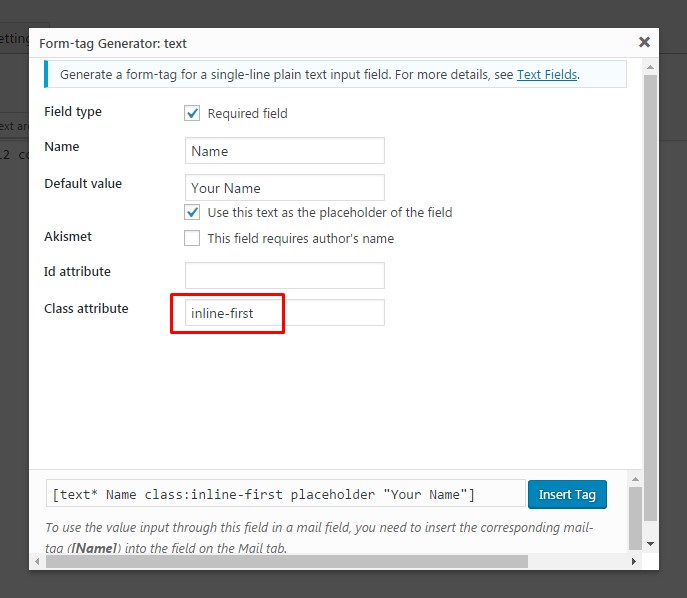
In the popped up window fill in 'Name' and 'Default value' fields. On demand check ' Use this text as the placeholder of the field' and 'Required field' checkboxes.

Hit 'Insert tag' button and continue adding fields by analogy.
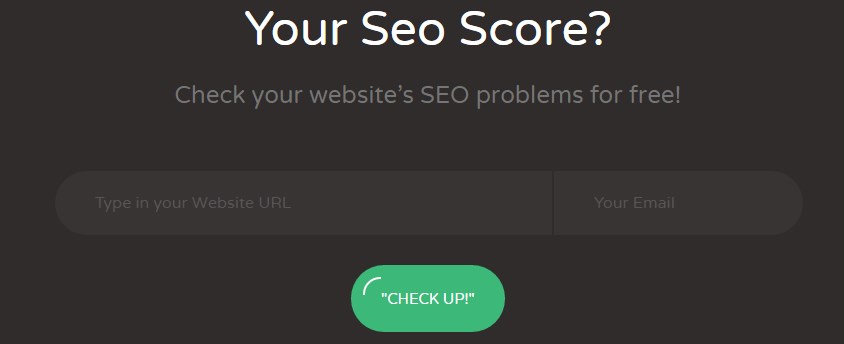
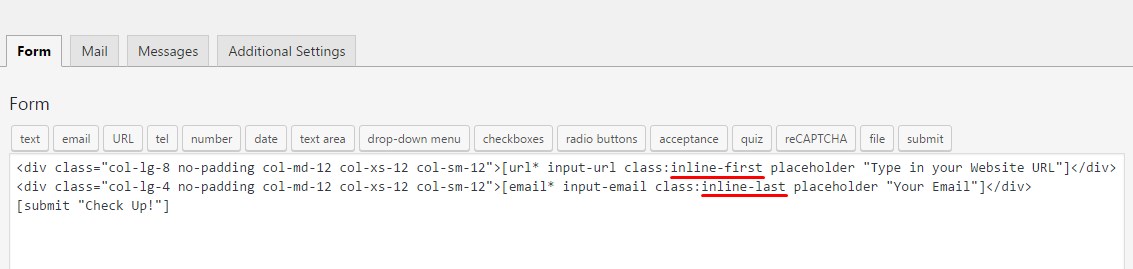
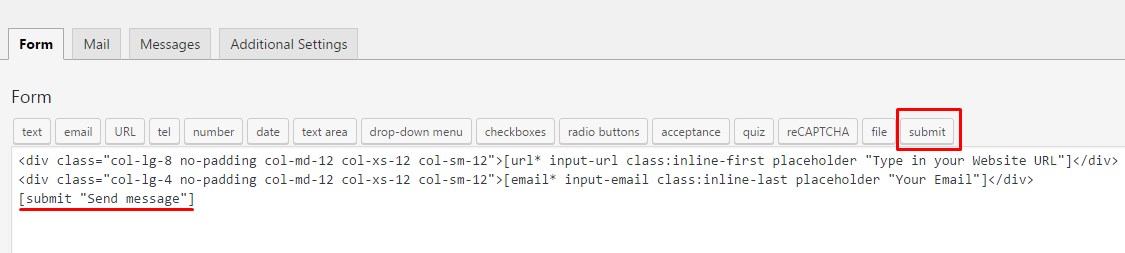
IMPORTANT: If you want to add a form with square border on one side, like the one on the image below, you need to enter classes inline-first and inline-last into 'Class Attribute' field.
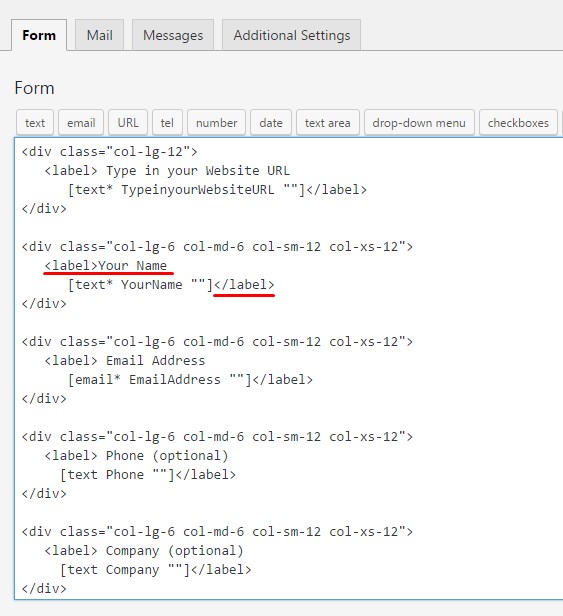
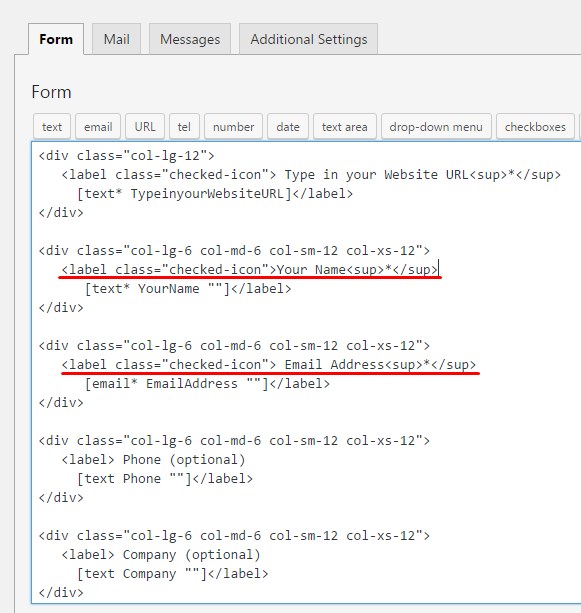
The above information describes the way to add form fields with placeholders. If you want your fields to have labels instead, you should wrap field shortcodes into <label></label> tags as in the example below.
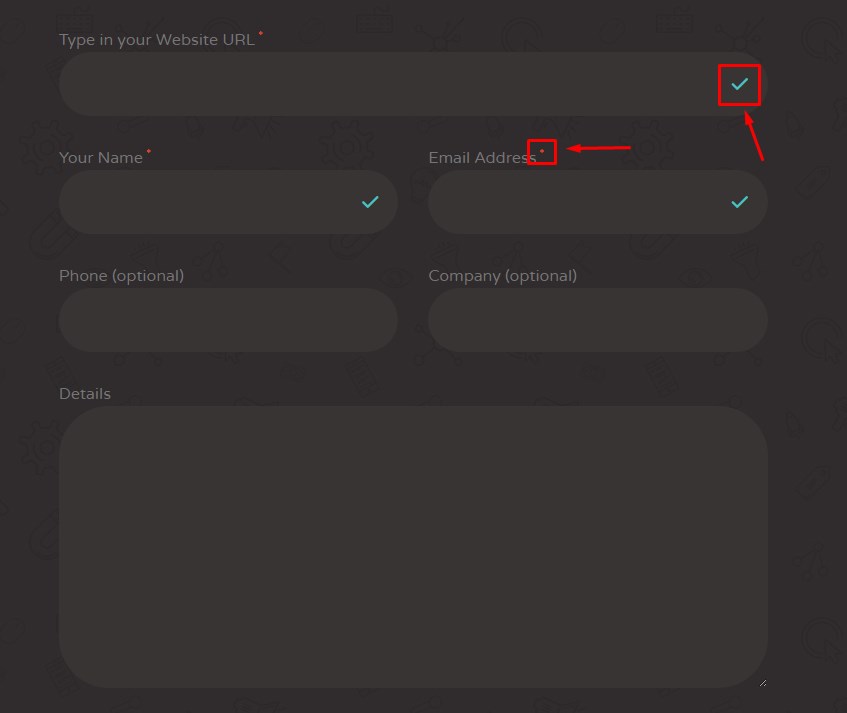
If you want to make form fields required as shown in the form above, you need to do the following:
Once you've added all form fields, add Submit button shortcode without any HTML tags.
If you want to have custom layout for the Submit section, for example, like on Seosight contact page, HTML formatting is required.
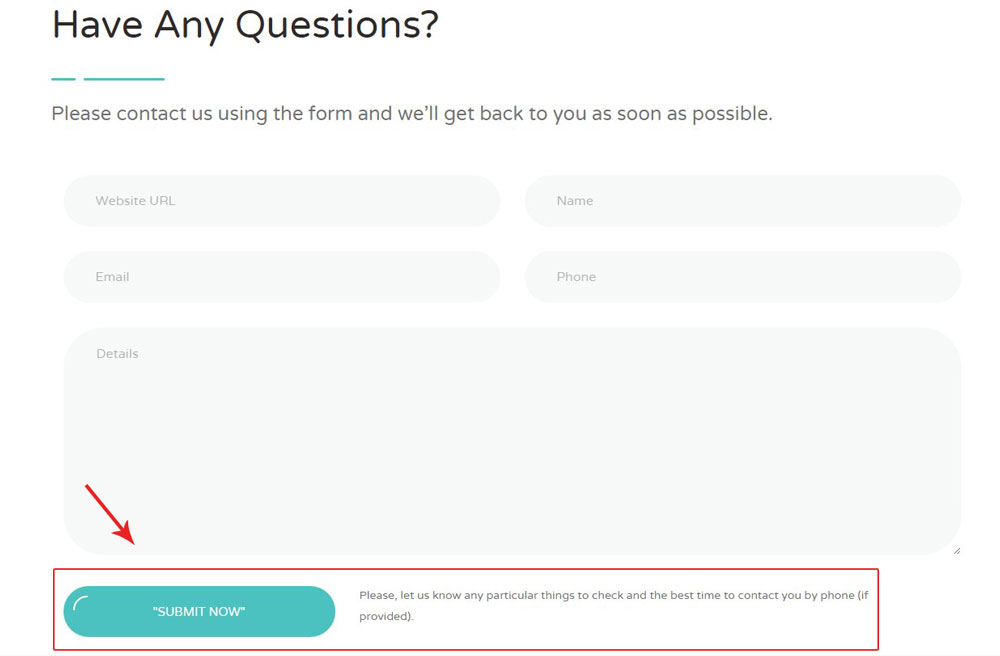
TIP: All contact forms used in Seosight demo are included in demo import. You can use them as a basis for your own forms.
After you have finished adding form fields, switch to the 'Mail' tab and set up email submission and message template options.
By default Mail options look something like this
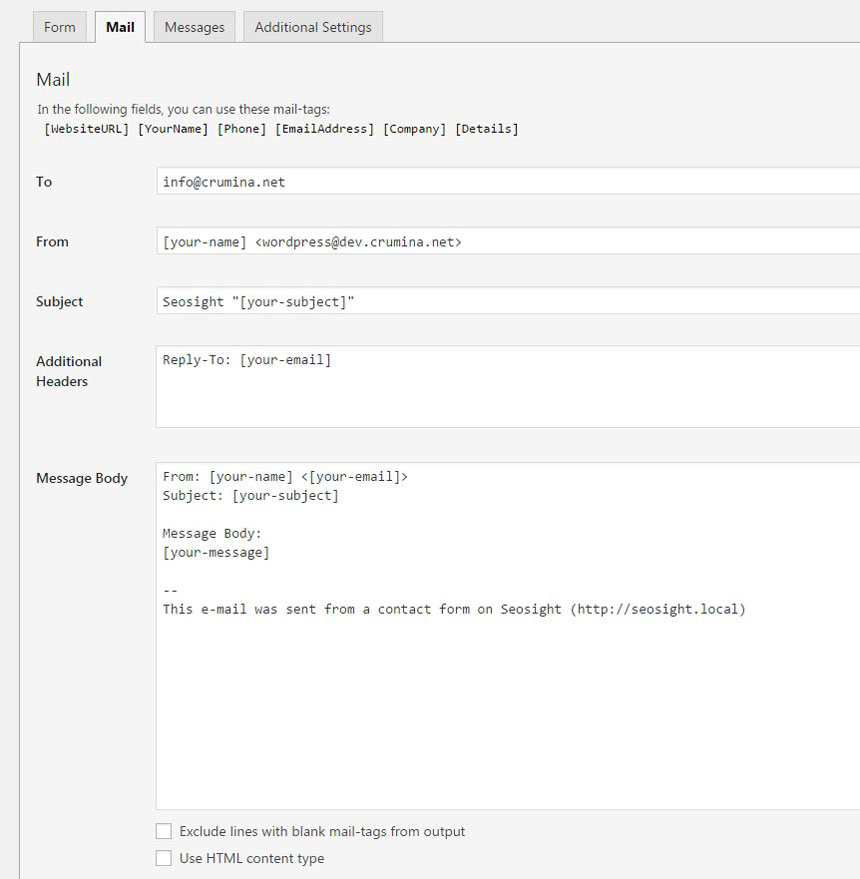
You need to customize the fields according to your website and form configuration.
In the To field enter email address which emails will be sent to.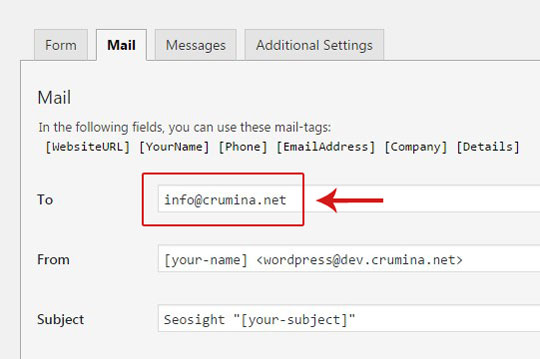
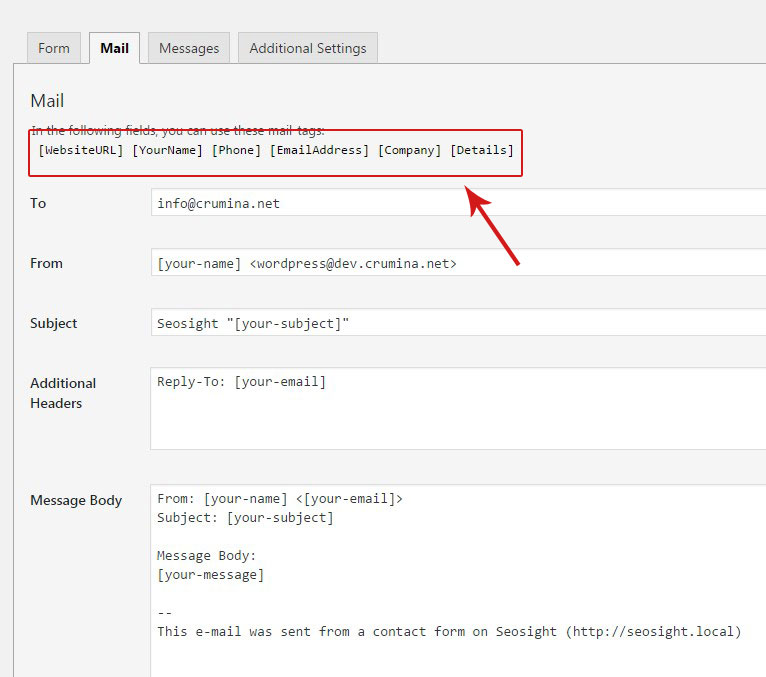
In the fields From, Subject, Additional Headers, Message Body replace default shortcodes with ones used in your form. All of them are listed on the top of the Mail tab.
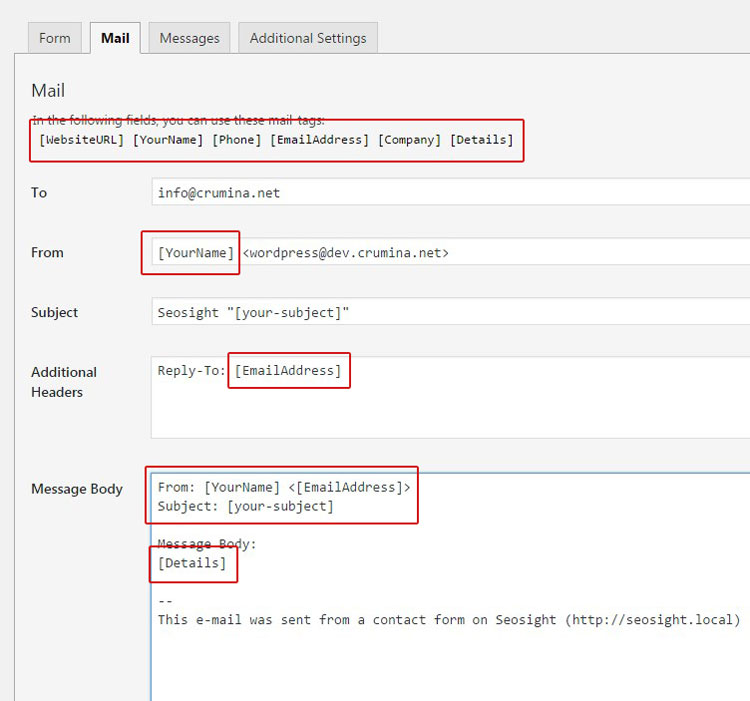
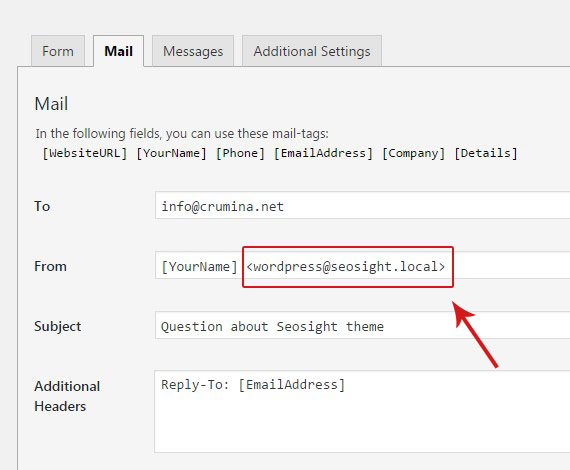
In the From field edit default <wordpress@example.com> code in accordance with your website URL.
For example, if my site is at http://seosight.local , the code must be <wordpress@seosight.local>
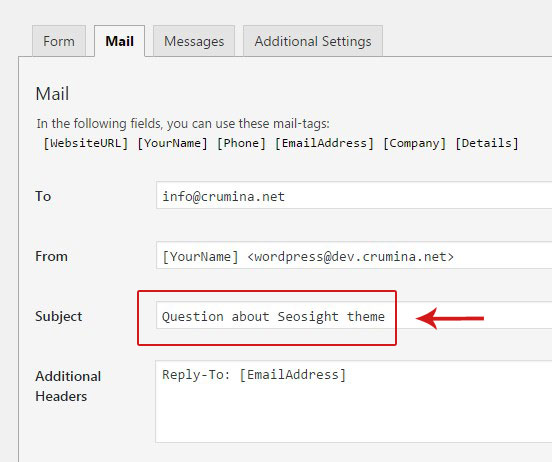
If some of the fields are not used in your contact form, for example Subject, you can replace [your-subject] shortcode with a plain text.
When you are done, send a test email and check the email template. If some fields are displayed as shortcodes or there is no text in your message body, then something is wrong in your settings. Check them once again and configure according to this tutorial.
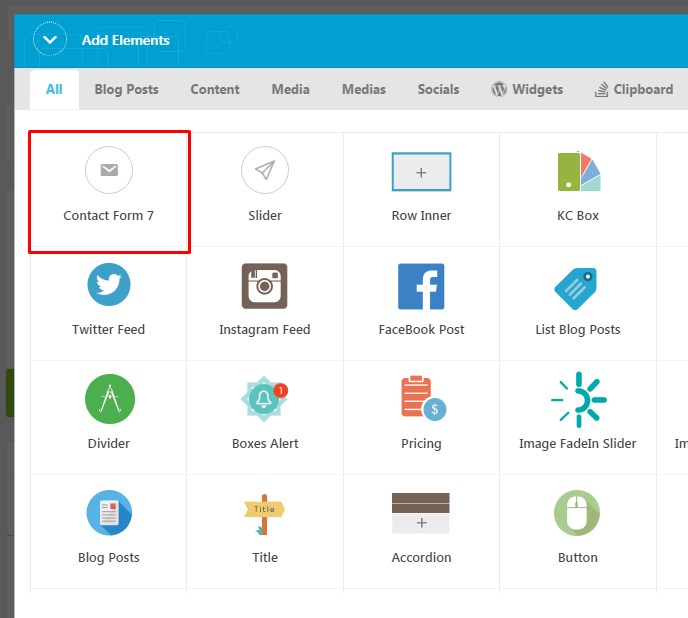
When the form is ready, add it to your page via 'Contact Form 7' shortcode in King Composer editor.
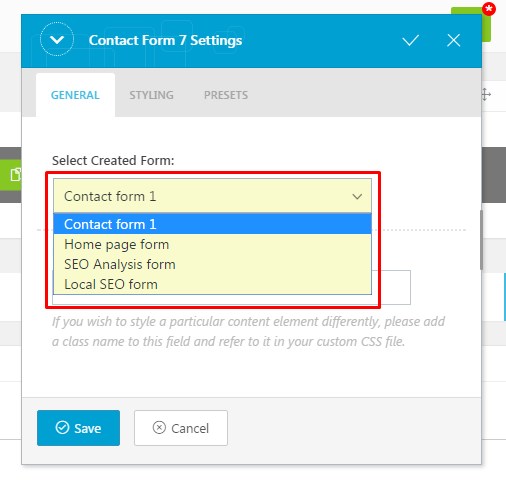
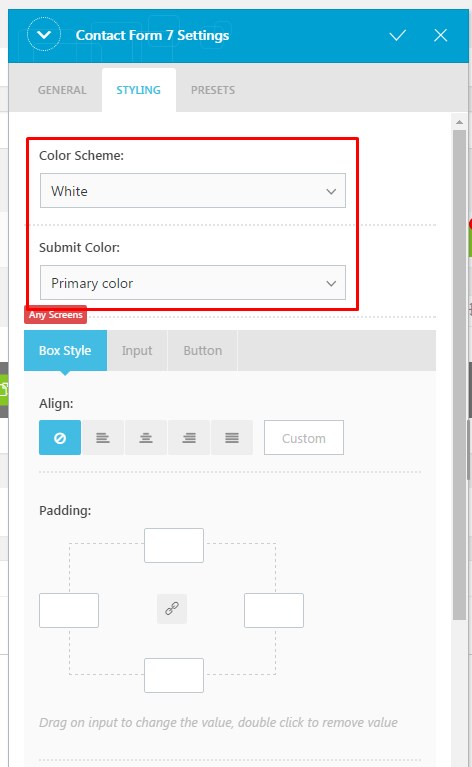
Switch to 'Styling' tab and choose:
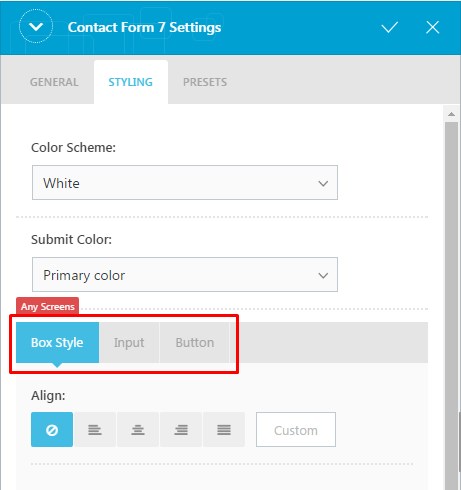
You can configure further options under Box Style, Input and Button tabs.
When you are done, save settings and view the form on page.