IMPORTANT: Frontend Editor option was added in Seosight version 2.0.
The main advantage of the Frontend editor is that you can edit page directly on the frontend and view changes in real time.
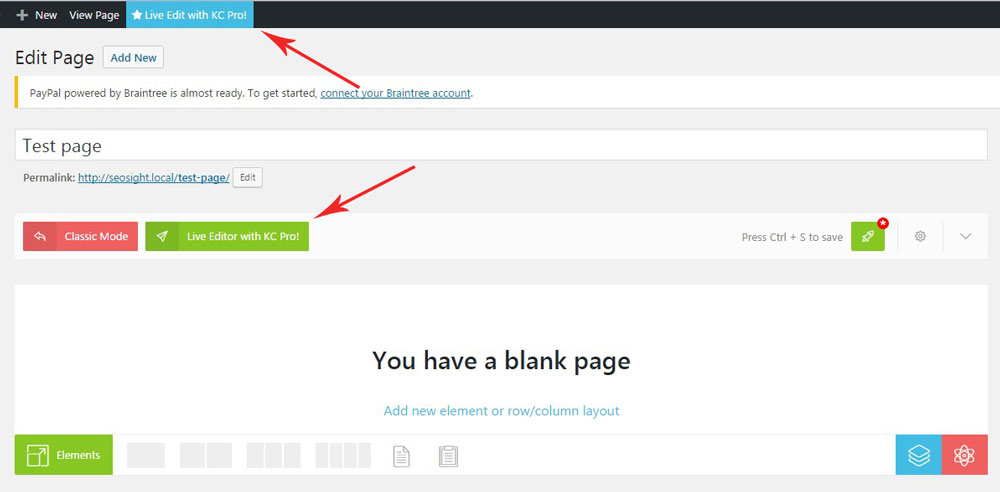
To start editing with the frontend editor click on the 'Live editor with KC Pro!' button, if you stay in the backend...
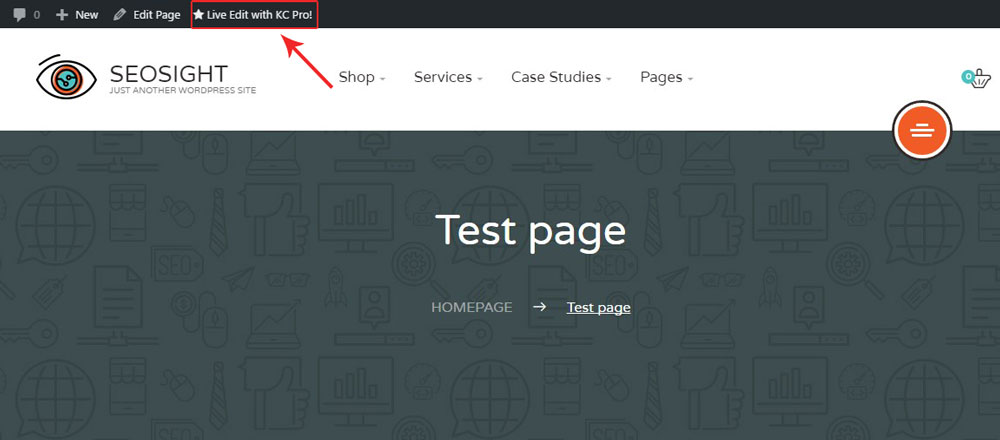
.... or on the 'Live Edit with KC Pro!' link on the top admin bar, if you view page on the frontend.
When the editor mode is active, you can see the same editor box as in the backend editor.
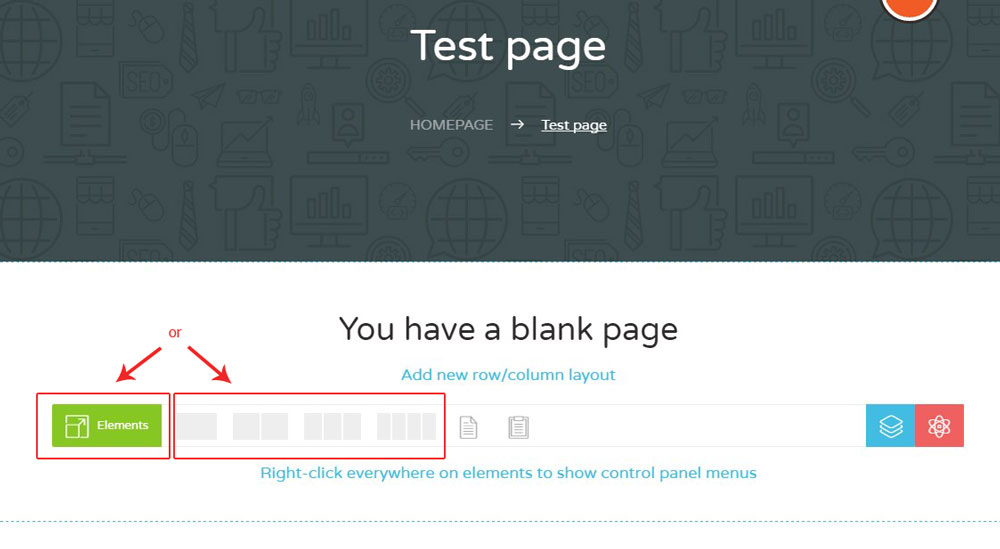
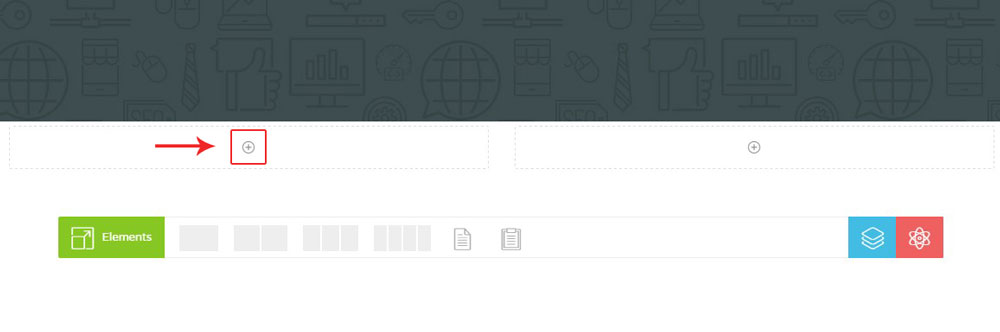
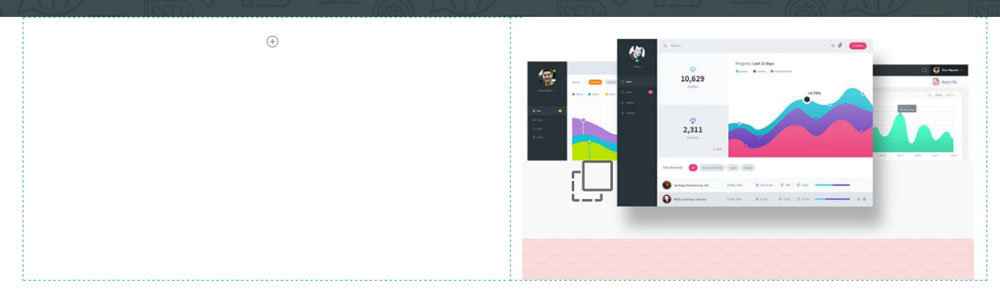
To add element click on the 'Elements' button or select columns layout first and then add elements by clicking on the 'PLUS' icon.
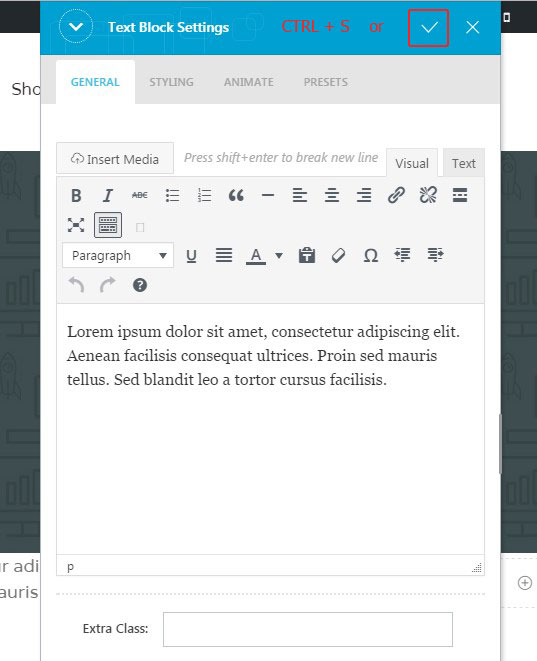
Once you have added an element, configure its settings and save changes by clicking on the 'CHECK' icon or press CTRL+S .
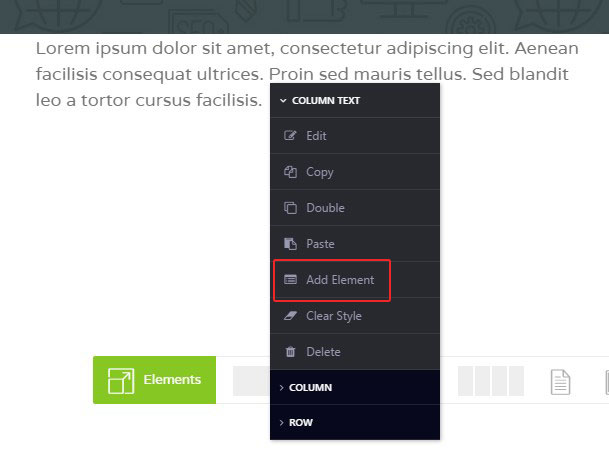
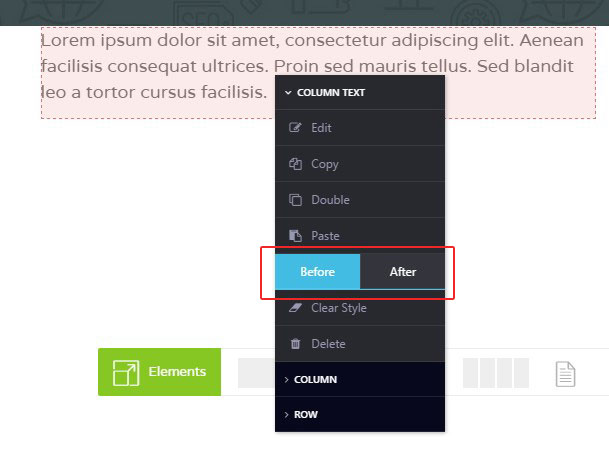
In order to add more elements to the same column or row, click on the element with the right mouse button, hover over 'Add Element' option and choose one of the popped out options - Before or After.
There is a number of option allowing you to manage rows and element in the frontend editor. They are:
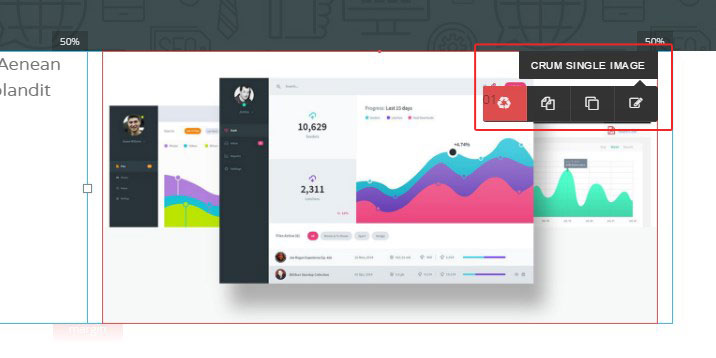
Edit/double/copy/delete options. If you need to edit, double, copy or delete the element, hover over its title on the top right corner of the element box. Below will appear navigation icons to choose.
The same is related to the row - if you need to edit row, hover over the 'Row' title to edit, copy, double or delete it.
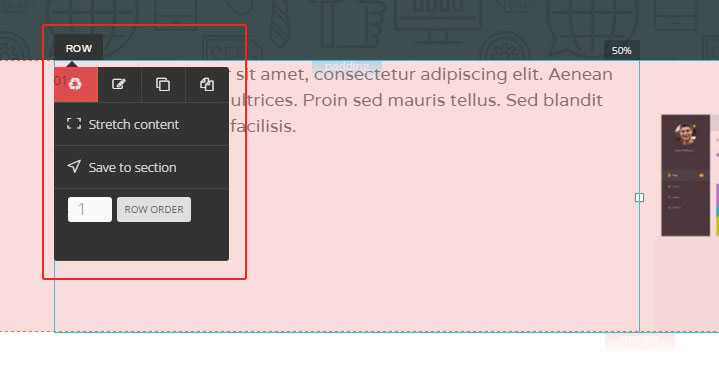
Rows and elements reorder. If you need to move element to another row or you want to move row to another location, simply click and hold the row/element name and drag the row/element to the target location.
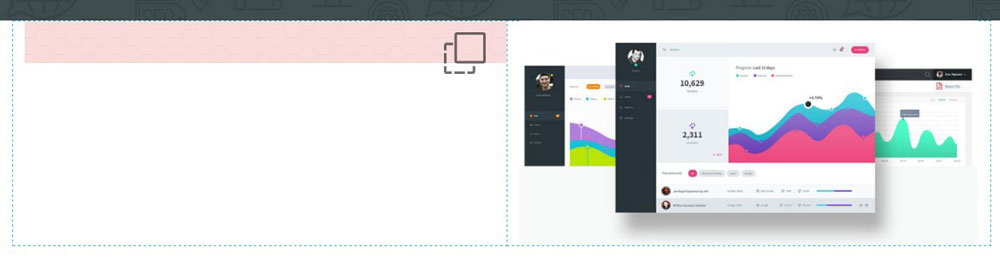
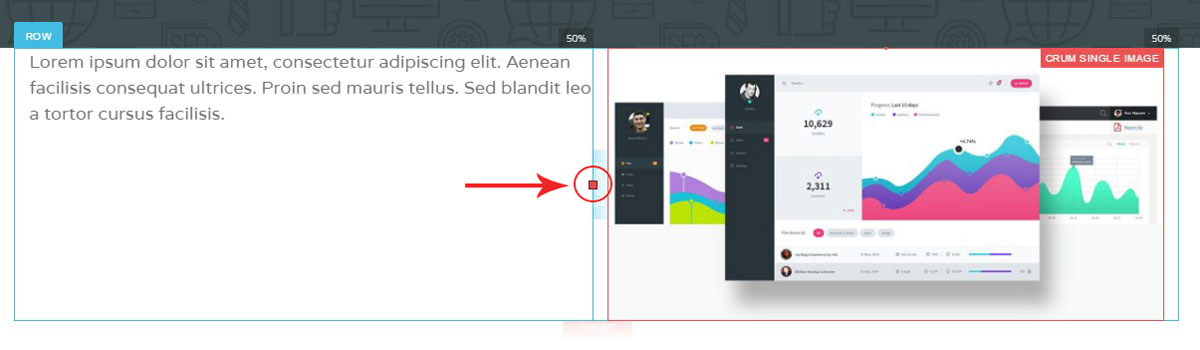
Columns width management. You can change width of the columns in the row with simple drag and drop function. Simply hover over the square between the columns, hold it with the left mouse button and drag the mouse to the left/right changing width of the columns.
Once you finished editing the page, clikc on the 'Save changes' button and then 'Exit Editor' on the top admin bar.
