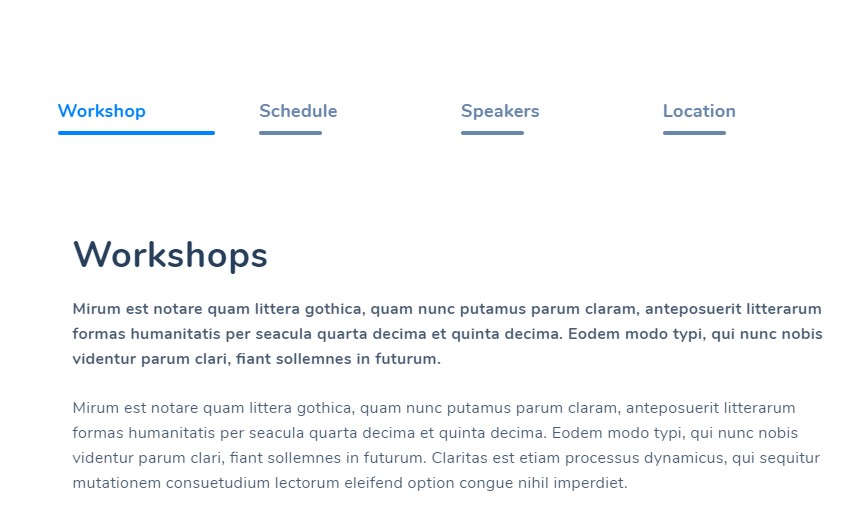
 Event item has tabbed structure. There сan be maximum 4 tabs. But if needed, you can show only the selected ones. The tabs are:
Events is a certain post type that lets you show information on different public and social events.
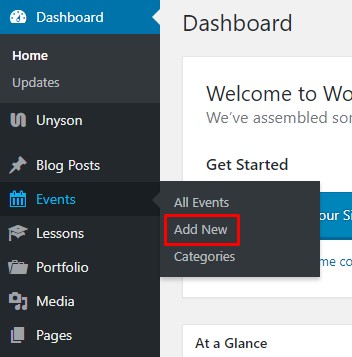
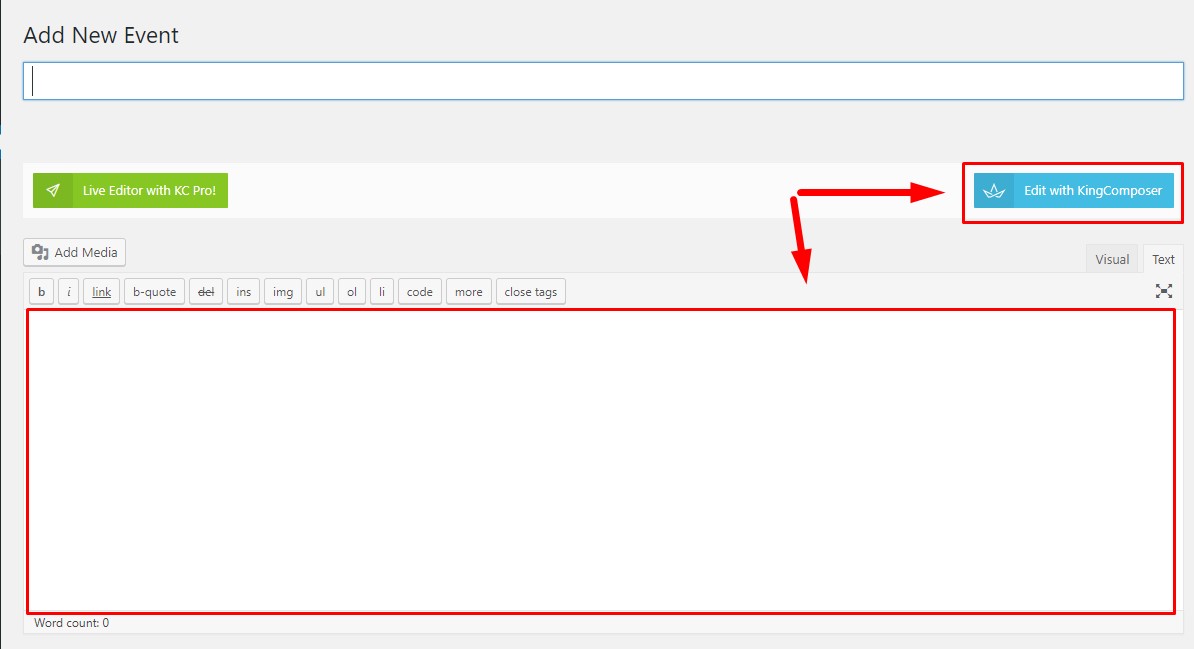
Events are created under Events > Add New tab of the admin dashboard.
Event item has tabbed structure. There сan be maximum 4 tabs. But if needed, you can show only the selected ones. The tabs are:
"Workshop" tab includes main description of the event. You can add content via the default WordPress editor or with help of the King Composer builder.
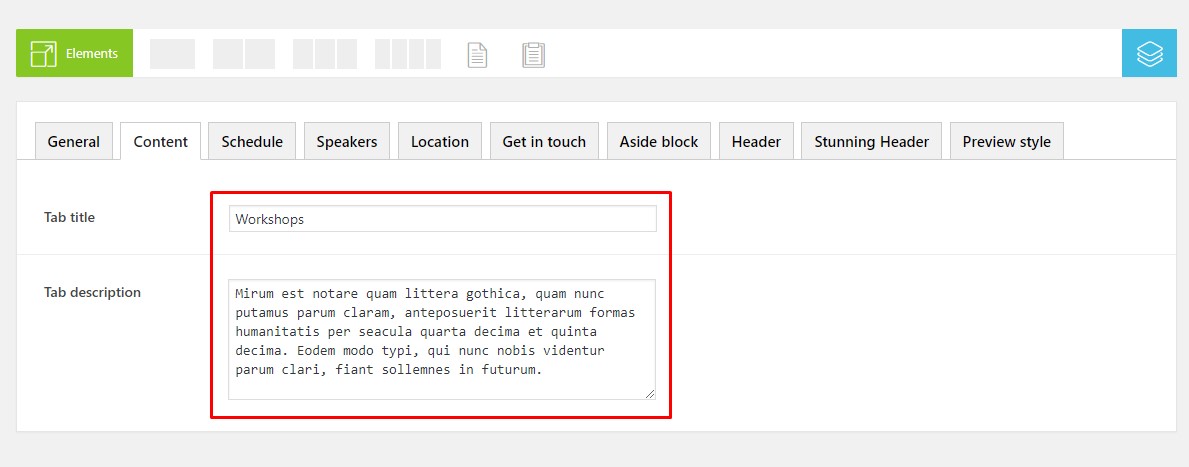
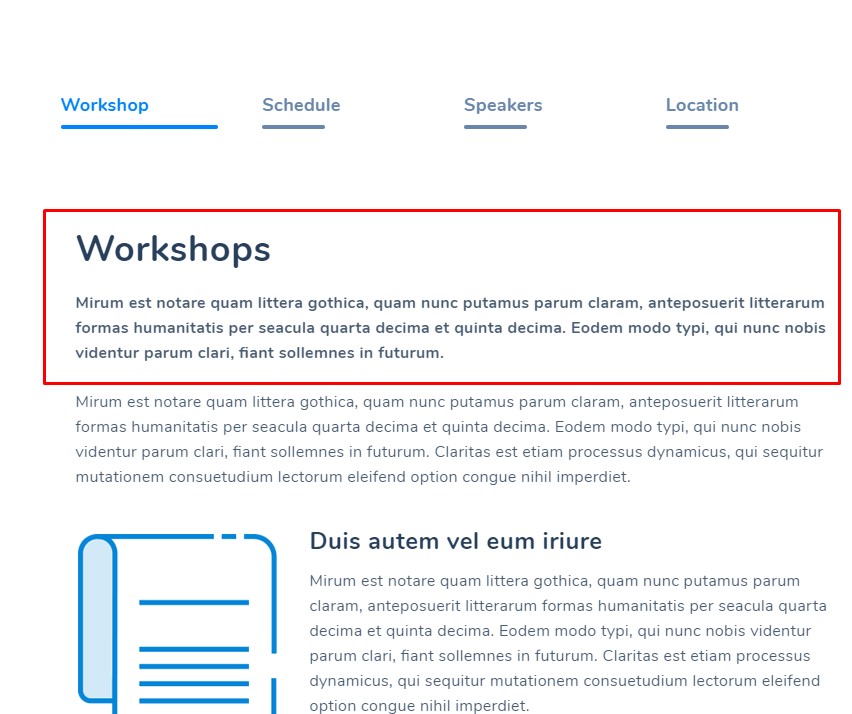
If needed you can add additional title and description, that will be displayed above the main description. It can be done under the "Content" tab below the WP editor.
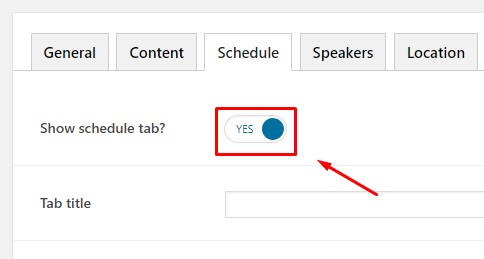
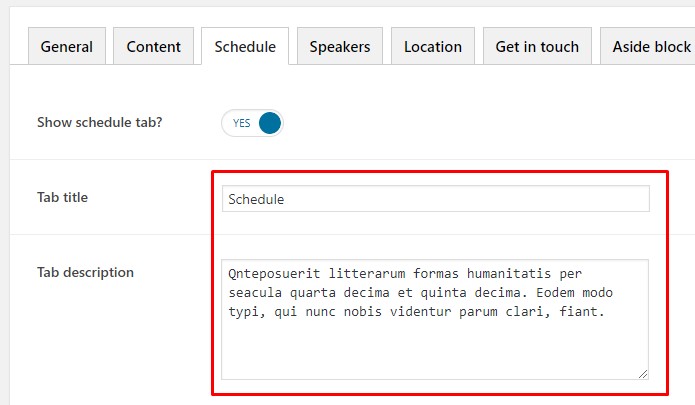
If you want to show "Schedule" tab on the events item page, toggle "Show Schedule tab" switcher to "On". If you don't want to show it, you can still enter date & time information below. It can be displayed in the stunning header section or on the global events page, if corresponding options are enabled.
If required you can enter additional title and description, that will be displayed above events time and date.
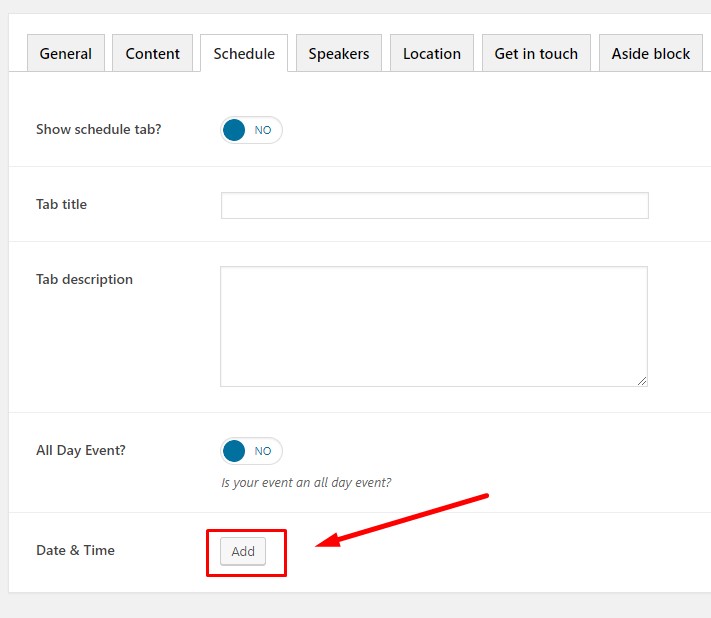
Under "Date & Time" you can add time and date of the event.
Click on the "Add" button to open options popup.
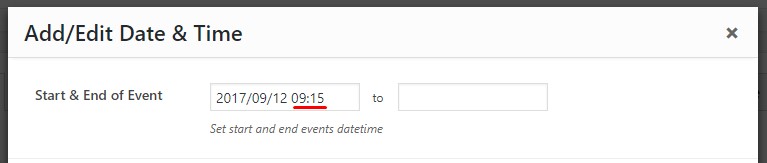
Enter start and end date & time of the event, and title with description of the event if required.
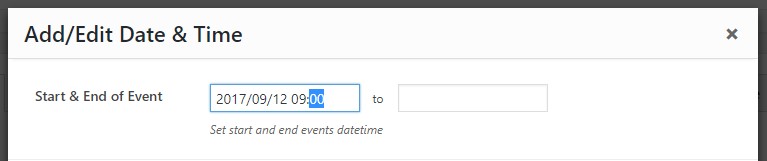
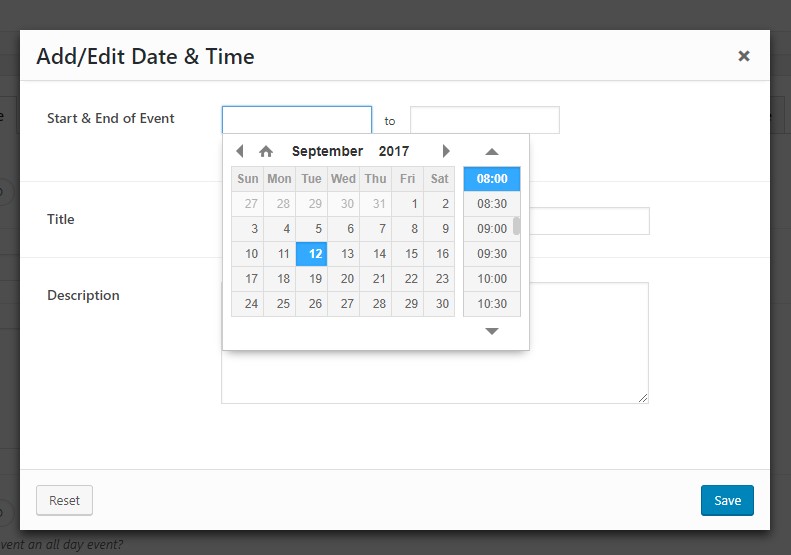 By default time step makes 30 minutes. For example: 8:00, 8:30, 9:00, 9:30 etc. If you need to set a different time, simply double click over the minutes section and enter custom value with a keyboard.
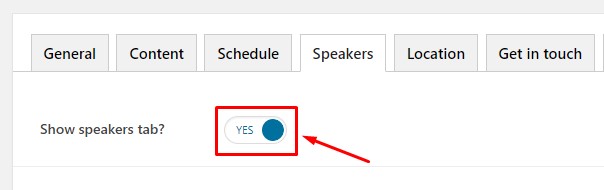
"Speakers" tab lets you add information about people who will arrange and hold the event.
In order to activate the tab on the event item page, toggle "Show Speakers tab" to "On".
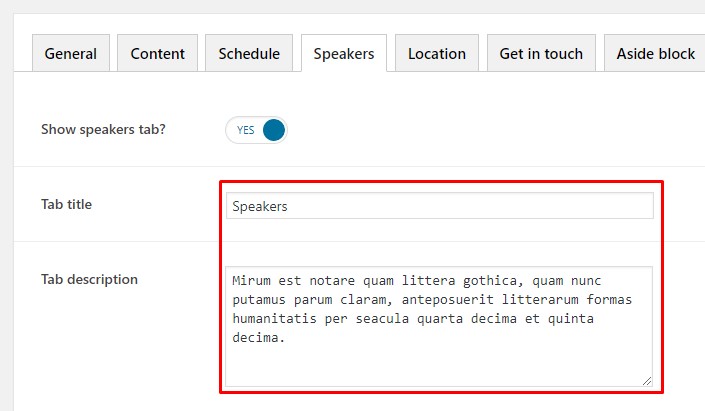
Enter title and description fields, if required.
 Click over the Speakers field and choose users who are to arrange the event.
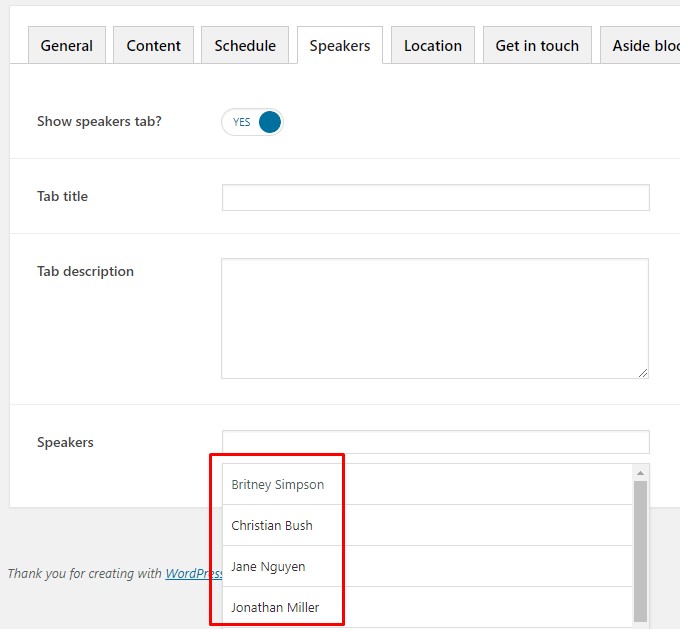
Users are created under Users section of the admin dashboard. You can also add short bio and other personal information there. Avatars can be added via Gravatar or additional WordPress plugins like WP User Avatars.
Under "Location" tab you can display Google map with an address, where the event will be held, and contact form. These elements are configured under "Location" and "Get on Touch" tabs in the event admin page.
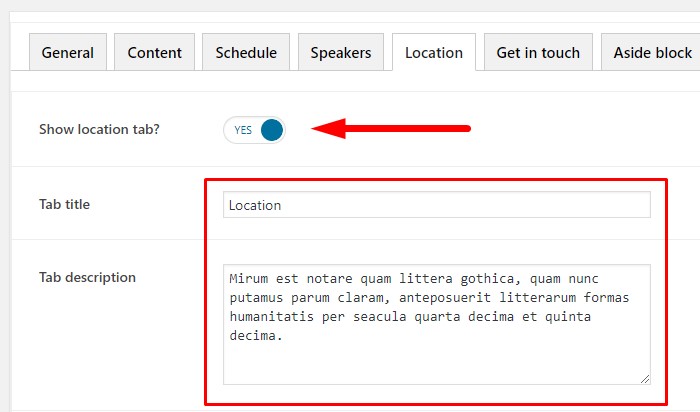
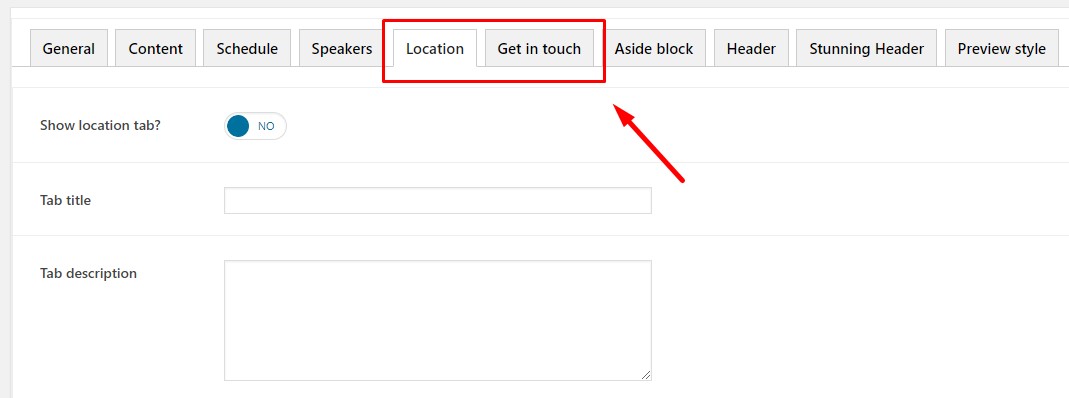 If you want to display "Location" tab on the event item page, toggle "Show location tab?" switcher to "On".
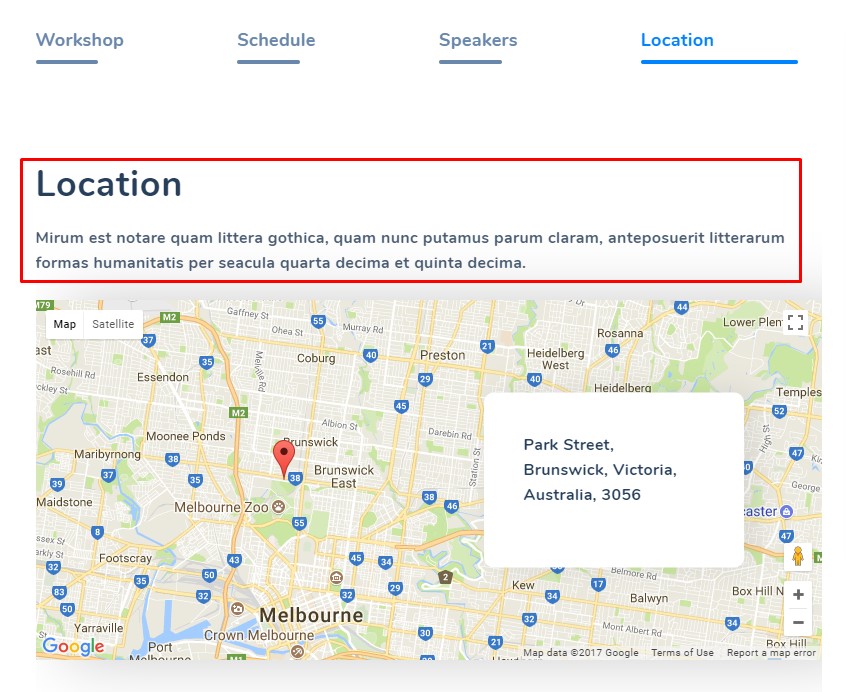
On demand enter title and description in the corresponding fields. They will be displayed above the Google Map.
 To display map you have to enter Google Map API Key in the "Maps API Key" field. Detailed instructions how to generate API key can be found by this link.
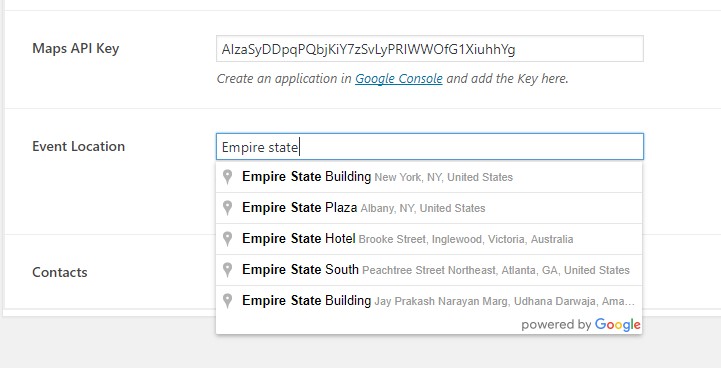
Begin typing address in the "Event location" field. The address options will be pulled up in the dropdown list and you can choose the needed one.
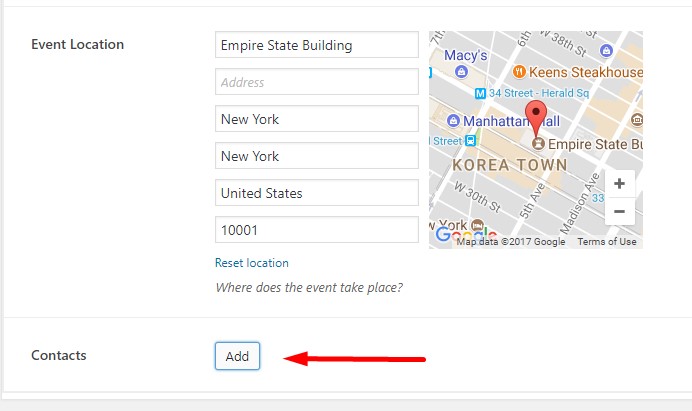
 If you want to display additional information on the map like text, phone or email, click on the "Add" button next to the "Contacts" title and add so many text fields you need.
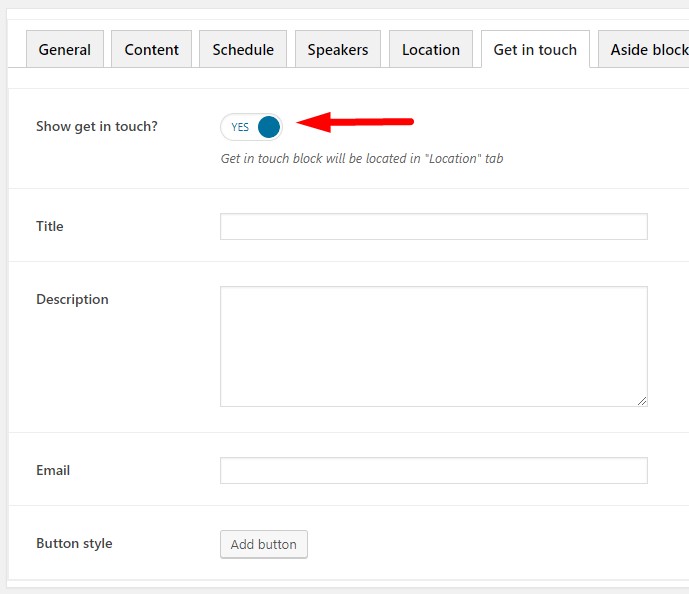
 If you want to show a contact form below the Google Map, go to "Get in touch" tab in the event admin page and turn on "Show get in touch?" option.
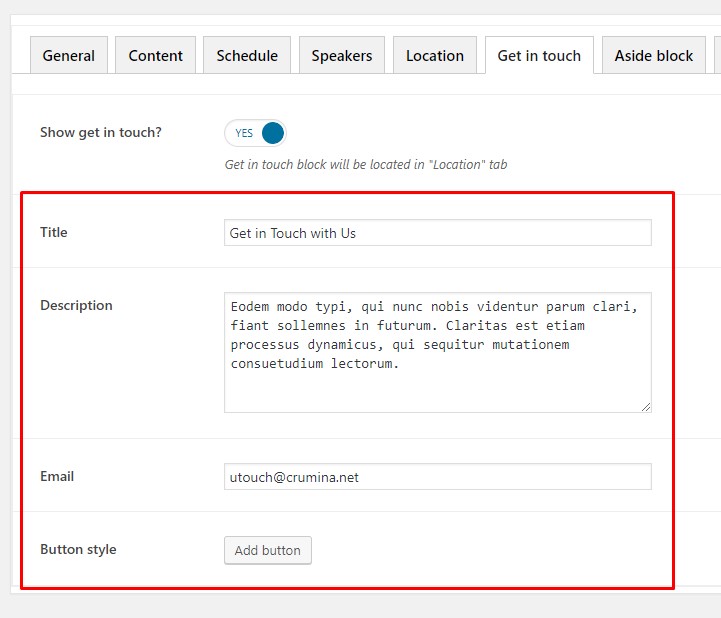
Begin adjusting contact form settings. Enter title and description, if needed. Enter your email address and configure submit button style.
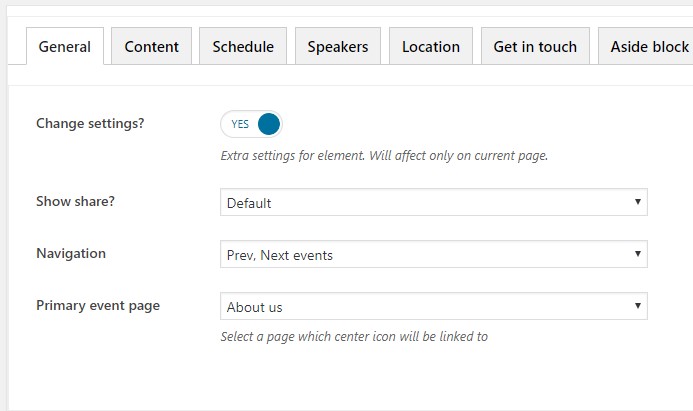
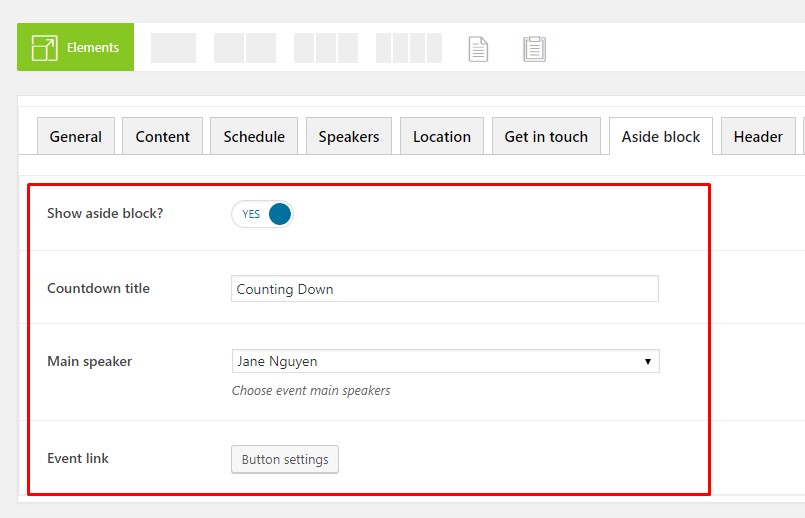
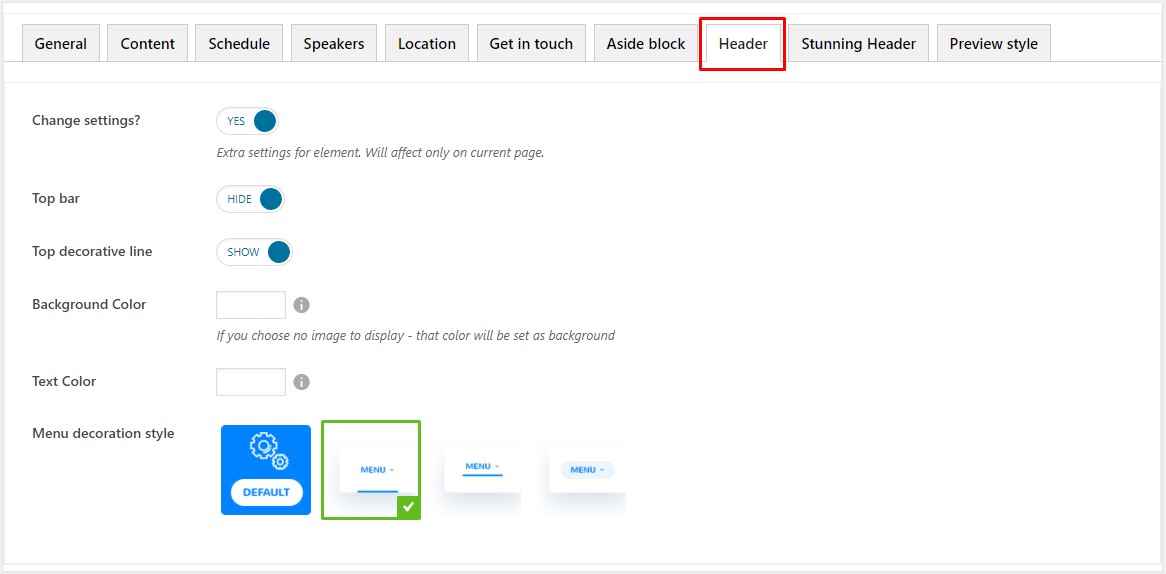
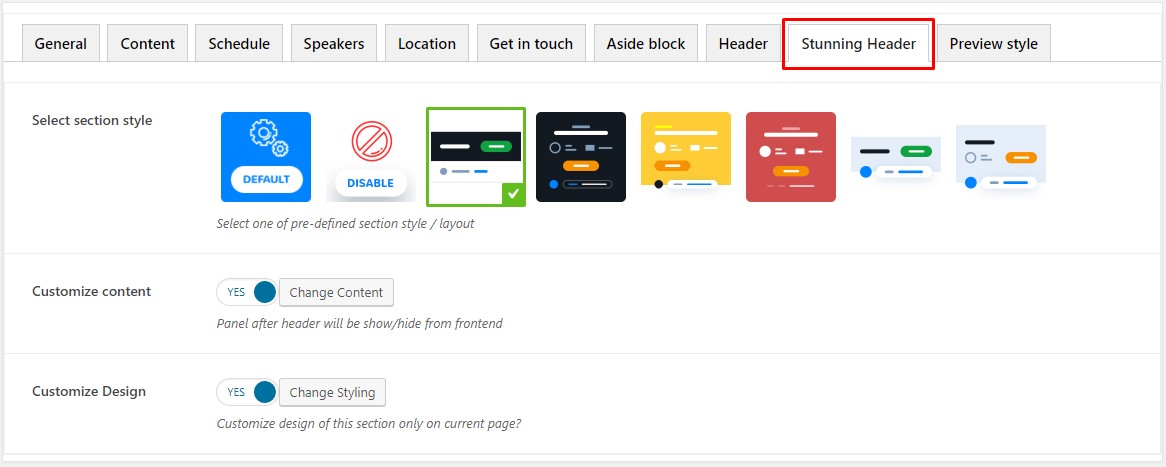
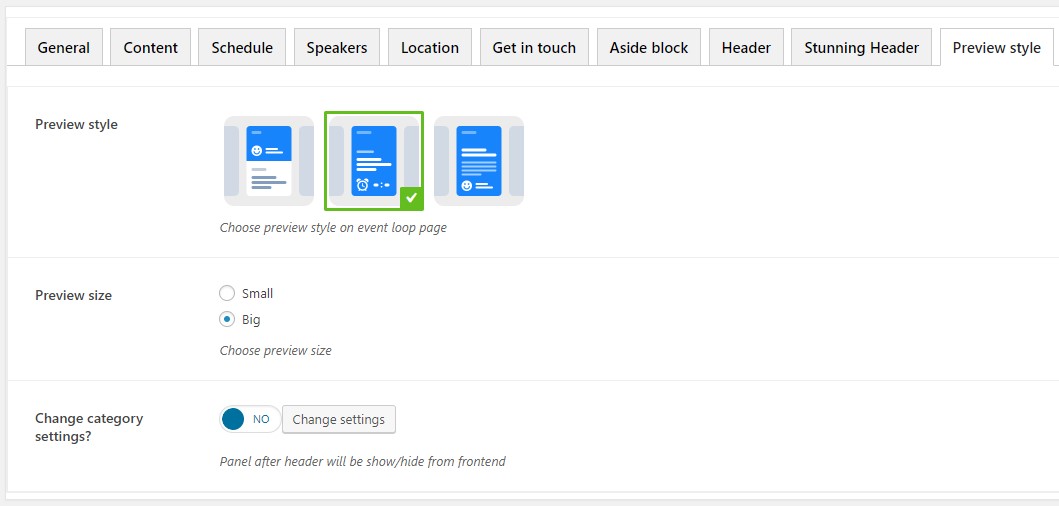
Once you are done with the content part, you can adjust additional settings: